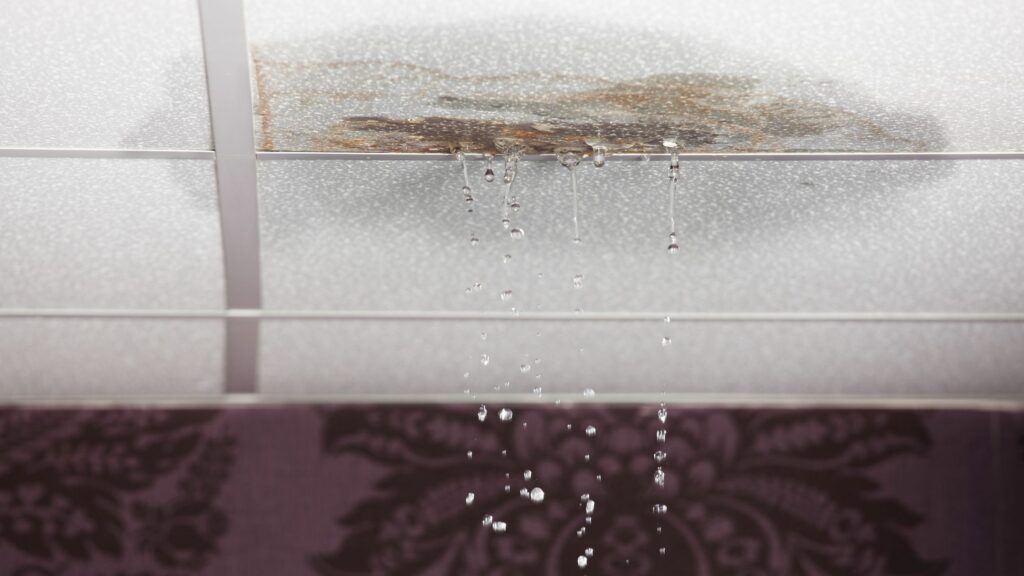
A leak in your ceiling can range from a simple dripping noise when it rains to a catastrophe halfway through dinner, often when you least expect it! We’ll discuss the best ways to prevent, detect, and deal with a ceiling leak.
- Causes of Ceiling Water Leaks
- How to Identify the Source of the Leak
- Plumbing Leak Inspection
- Plumbing Leak Checklist
- Rain Leak Inspection
- Rain Leak Checklist
- Ceiling Inspection Checklist
- DIY vs Professional Repair
- Leak Prevention Checklist
Causes of Ceiling Water Leaks
There are two leading causes of ceiling leaks.
- Faulty plumbing
- Storm or rain rainwater
We will discuss both and how to establish which is the cause of your leak and how to deal with it!
In the case of an unusual smell, stain, or annoying drip, let’s see if we can help you identify the cause yourself.
If the leak is severe, turn off your water at the mains and contact PGWA immediately on 0439 570 736!
How to Identify the Source of the Leak
Well, if it’s not raining outside, but it is raining inside, then it’s likely a plumbing issue!
Jokes aside, if the leak only occurs after storms or rain, it’s likely an issue with your roof plumbing. These leaks can often persist days after rain if water pools in the roof cavity and drips slowly.
If you haven’t had any rain in the past week, it’s likely a plumbing issue, and your inspection should focus on your pipes. An increase in water usage can also indicate that you have a plumbing leak.
Inspecting for Leaks
Let’s discuss how to inspect for each type of leak.
Plumbing Leak Inspection
Generally, plumbing leaks will either be burst pipes or leaks at the connection.
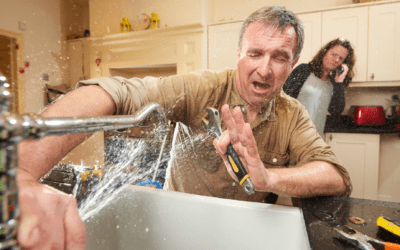
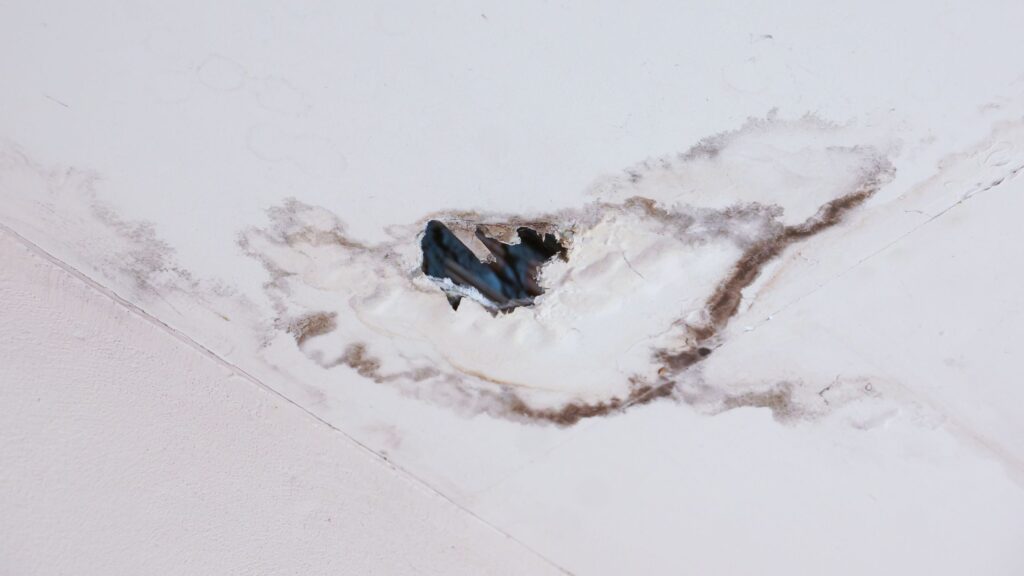
In the case of a burst pipe, it’s generally catastrophic! Your investigation will be swift in this case, and you should already be on the phone with PGWA!
“Look, a huge hole in my ceiling! Call 0439 570 736 immediately!”.
However, if you’re still here, it’s more likely a slow leak due to an old, damaged pipe or faulty connection point. It is less catastrophic but still very important to address promptly. We don’t recommend trying to repair these leaks yourself due to the risk of causing significant or further damage. Instead, if you want to do some DIY plumbing inspection to establish where the leak is coming from, saving your plumber time and your money, then you should take these steps.
Plumbing Leak Checklist
The inspection process is the same whether it’s an older copper pipe or a newer polypipe.
- Safety First: Entering your roof space can be dangerous, especially in old houses. Turn off the home’s power supply before climbing into the roof. Once again, if you are unsure, contact a professional.
- Start by poking your head into the access hole and listening for dripping, then follow the sound to locate either pooling water or the leak’s source.
- If you don’t hear dripping, look around for staining or damp patches.
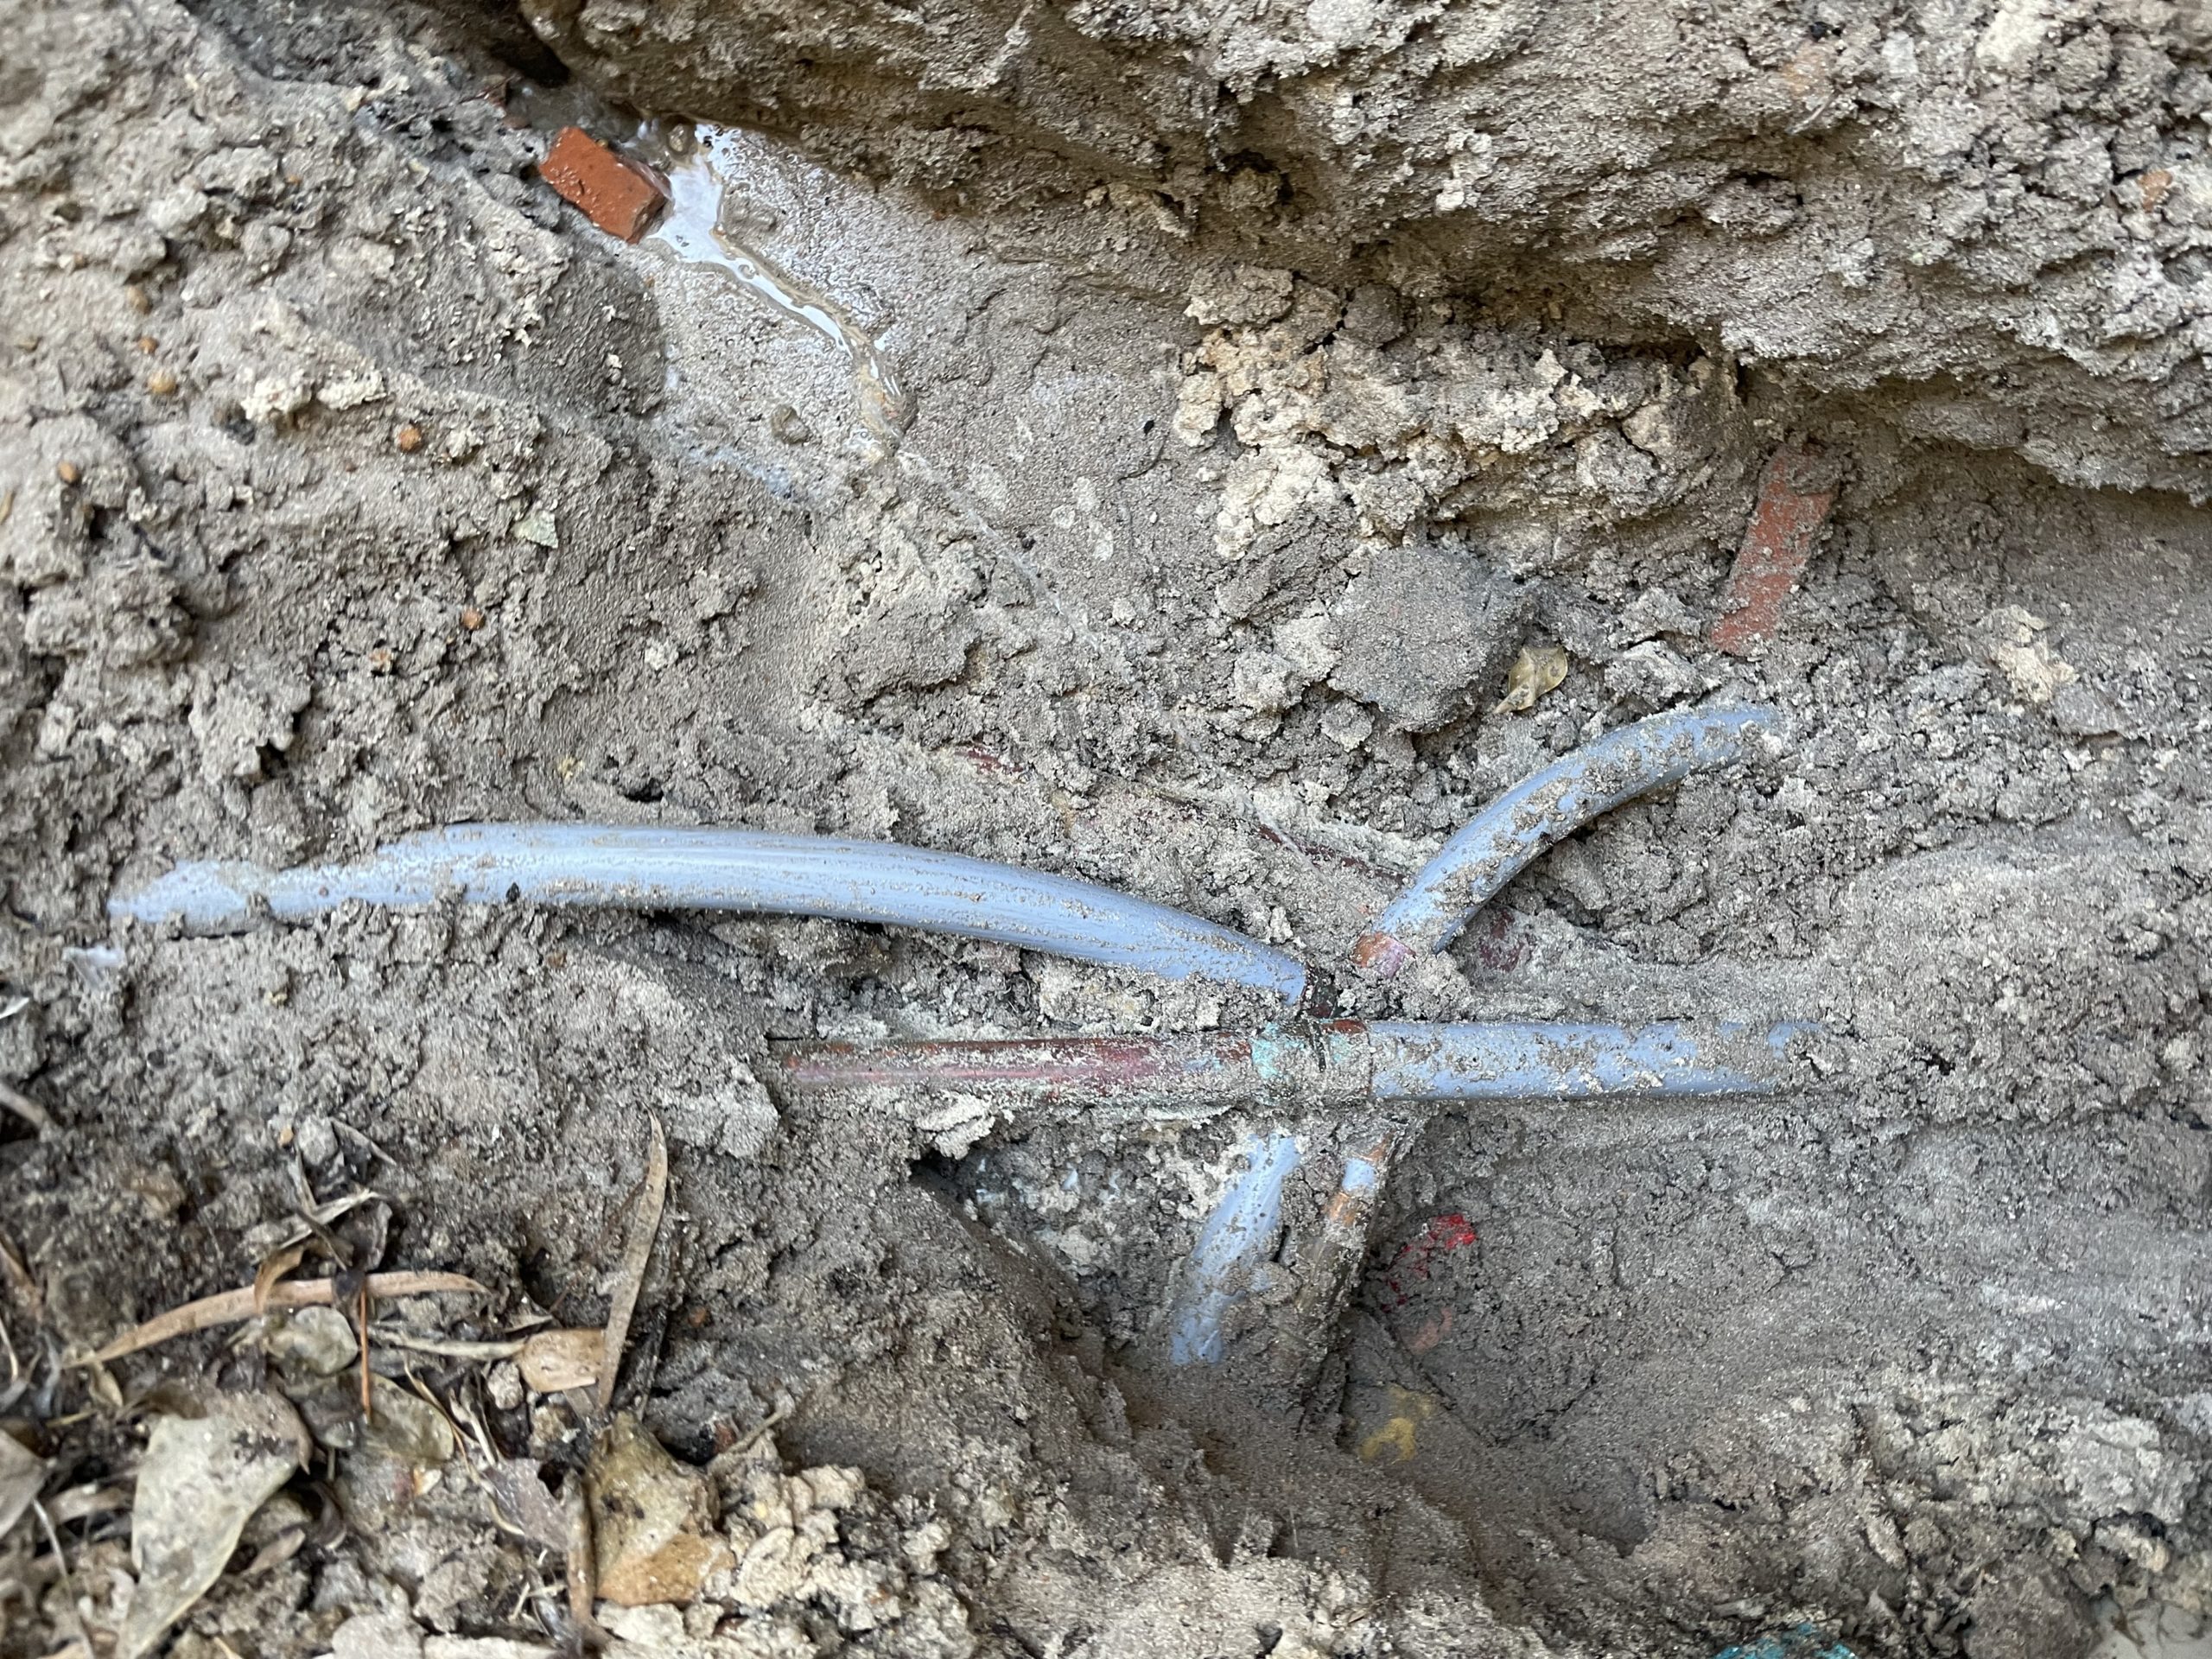
- Once you find a damp patch, look around for a potential culprit pipe. These may be copper or polypipes. The pipe may be dripping or have a white build-up or discolouration from sediment.
- Mark the leak by tying a dishcloth around the pipe so the plumber can easily locate it later.
- Once you’ve established the leak, take a further look. Identifying the source is essential because a leak can often start at a joint and run along a pipe, rafter, or any other surface before dripping onto your ceiling. If it’s easy to navigate, follow the water to the source and mark it with a dishcloth for the plumber to repair later.
- Once again, we do not recommend entering your roof. But if you insist, please do so carefully and don’t work outside your comfort level.
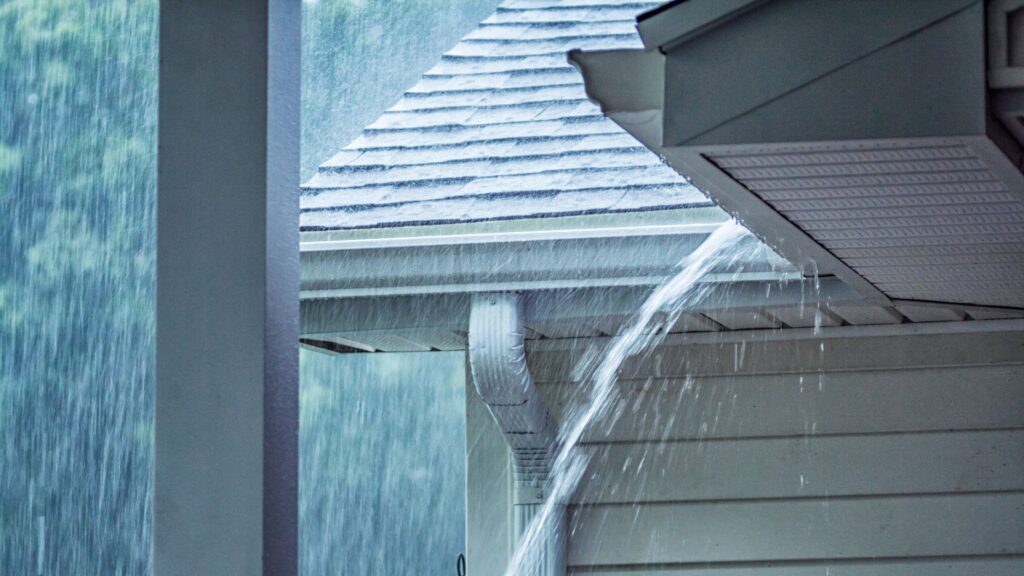
Rain Leak Inspection
It’s generally easy to tell when you have a roof leak, as your ceiling leak will only occur when it rains. However, remember water can pool in gutters, eaves, and even wet insulation, which could drip for weeks after a downpour.
The good news is roof leak inspections are far more accessible and DIY-friendly compared to pipe leaks.

Rain Leak Checklist
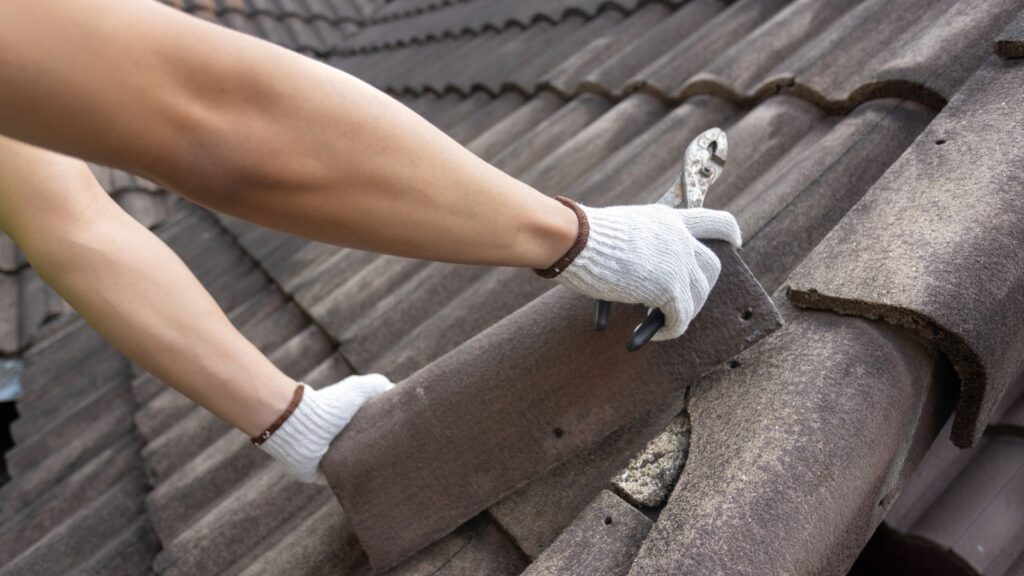
- Safety First: Before climbing onto your roof, ensure a sturdy ladder is securely placed, preferably with an assistant.
- Roofing Inspection : Look for broken, damaged, loose, or misaligned tiles. Replace these and make sure they sit securely. A strong wind can lift tiles, allowing rain to enter.
- Roof Plumbing Inspection:Look for signs of blockage or inadequate roof plumbing.
- These include:
- Clogged gutters and downpipes. Clear leaves and debris so your roof plumbing can drain correctly.
- Signs of pooling water, such as puddles or white sediment where water may have been standing and evaporated.
- If you find your gutters overflow or areas around your home’s foundation are dug out by water runoff, these are indications that you may have debris or flat spots impeding your roof’s ability to clear stormwater. If you have cleared all debris and the issue persists, it’s likely inadequate or poorly planned roof plumbing.
- Consider upgrading your roof plumbing or consulting a roof plumber.
Ceiling leak inspection Checklist
- Once again, it’s important to remember that entering your roof cavity can be dangerous. So do so with care.
- Pop your head into the roof cavity and look for any signs of light through your tiles. Any light could indicate broken or misaligned tiles. So, make a note of where they are and correct them when you climb on the roof.
- Pooling water or sediment where water has evaporated will give you a good starting point for locating a roof leak. Water can run along beams, tiles, and even pipes but start at a leaky tile. So, follow the water back to the source.
- No signs of water? Can you smell any odd odours? Often, water can leak in and wet ceiling insulation or items stored in the roof.
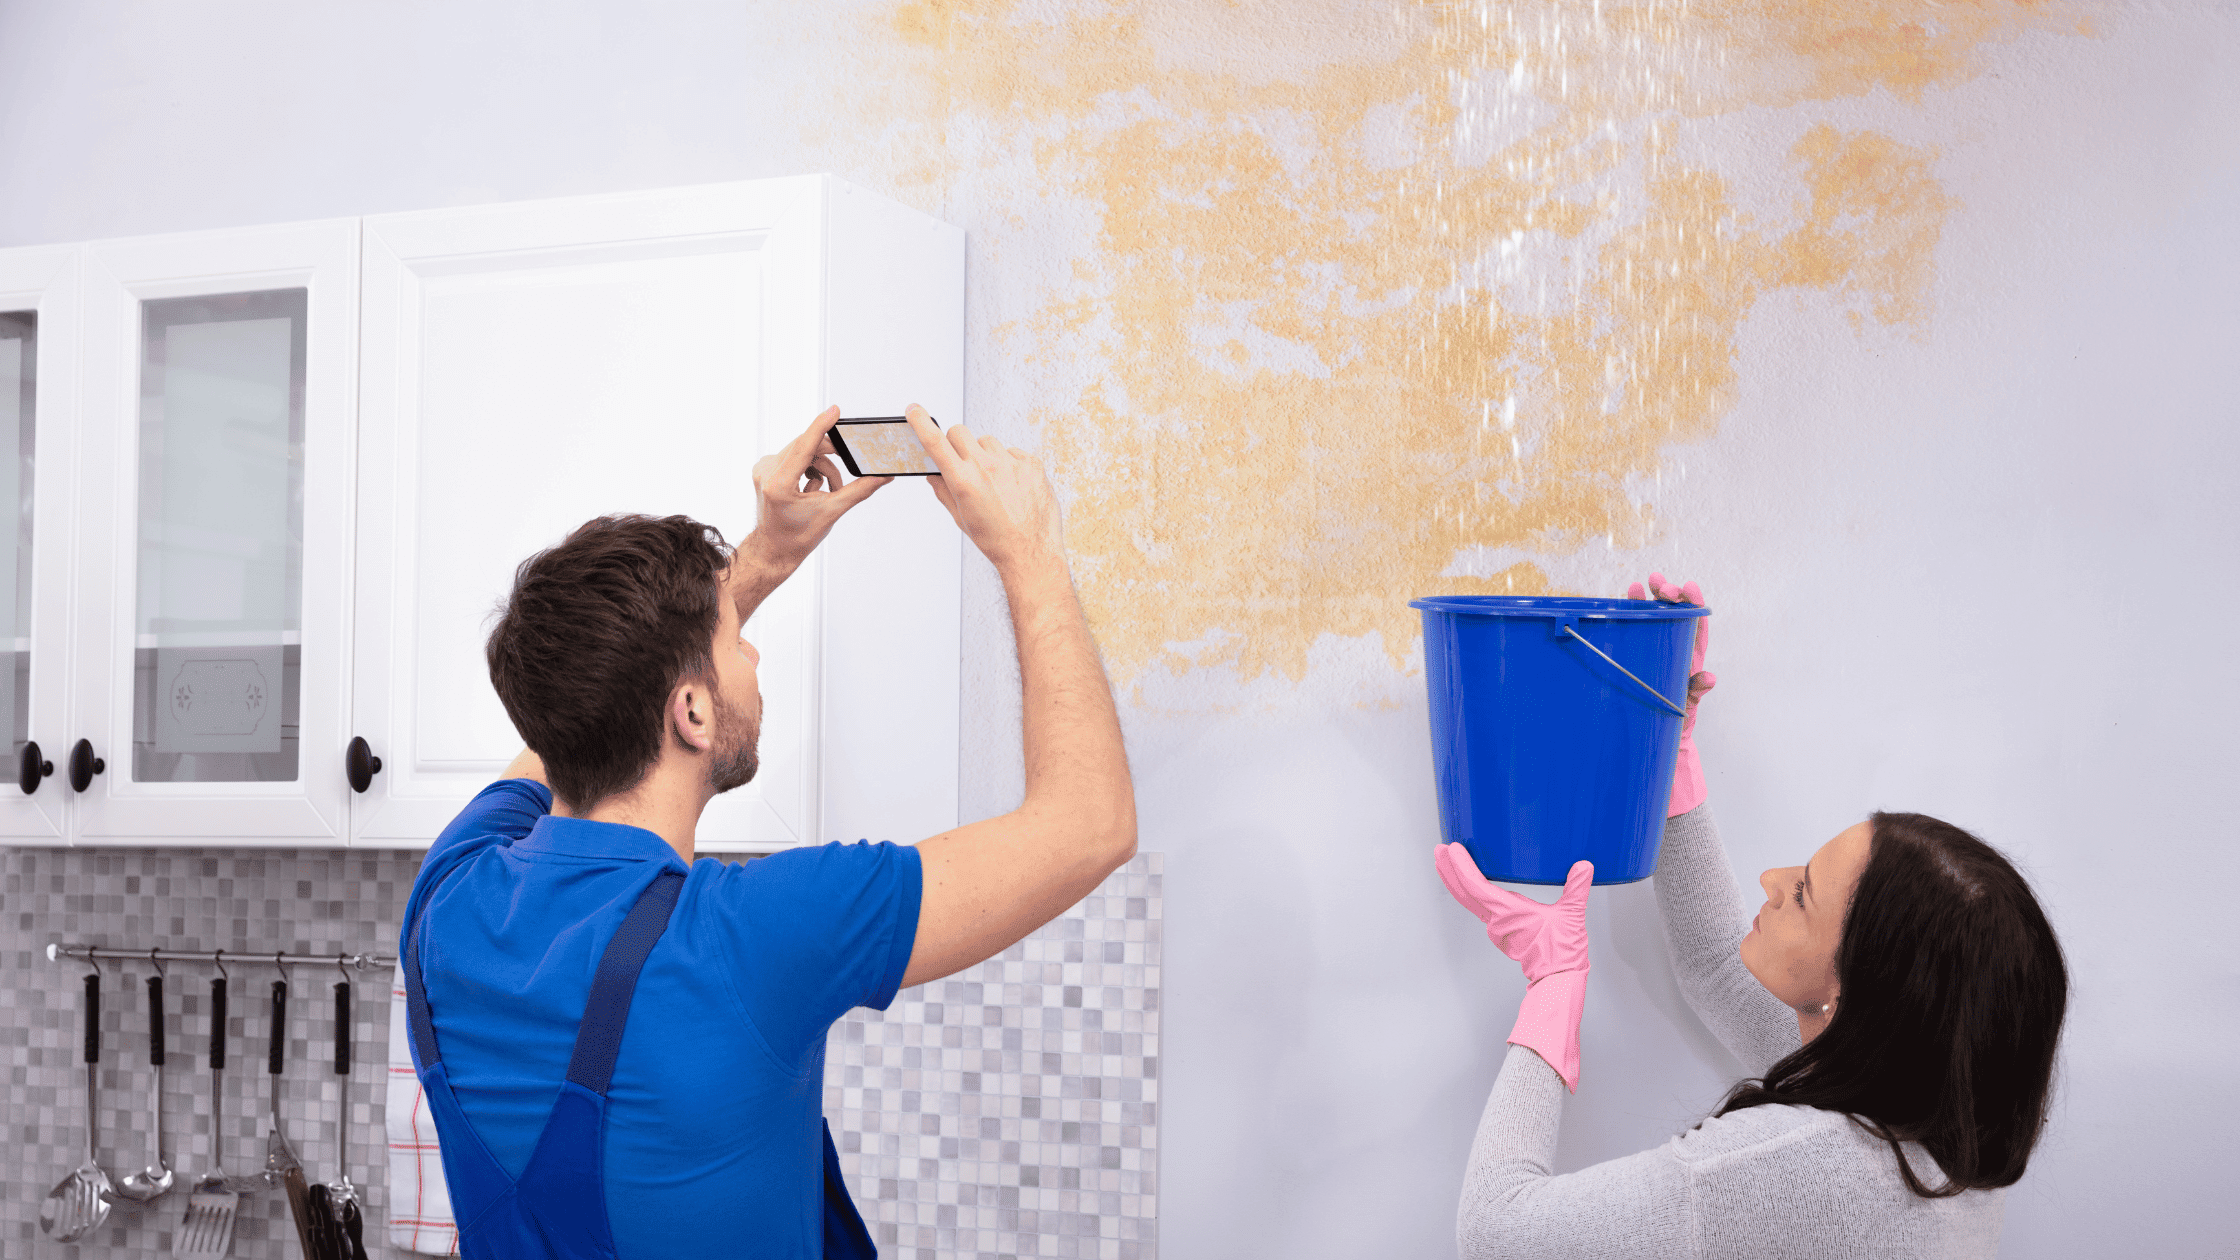
- If it’s unclear where the leak is, it’s time to contact a professional. Ignoring leaks can lead to mould and other damage that can go unseen until it’s a much larger job to fix.

DIY vs Professional Repair
Inspecting and fixing roof leaks as a Sunday DIY project carries a small risk for a high reward, and regular inspection and maintenance is good practice.
However, DIY plumbing leaks carry a hefty price if not done correctly. The cost of making a mistake or making the issue worse far outweighs the benefits, and we recommend getting a professional to repair these leaks.
PGWA offers a free, no-obligation inspection. Let’s be honest: you will sleep better knowing the pipes in your ceiling have been professionally inspected and repaired.
Prevention & Maintenance
Regular Inspection & Maintenance of Plumbing Fixtures and Roofs
It’s important to conduct regular inspections, particularly crucial in May, to clear autumn leaves and prepare for winter storms. Perth experiences significant rain between June and August, so be prepared.
Leak Prevention Checklist
- Roof: Inspect the shingles and tiles for damage, condition, and positioning. If you’ve previously had a leaky roof, check those old roof repairs to ensure they are still in good condition.
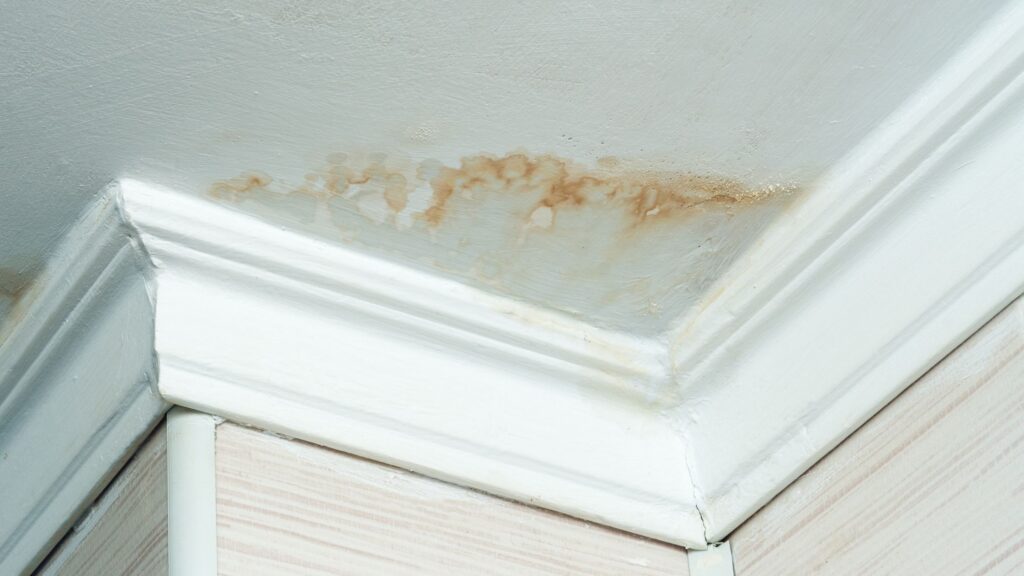
- Ceiling: Inspect your entire ceiling for signs of moisture, paint discolouration, and water lines on your walls. Often, water lines can be a sign of condensation, and you should consider improving ventilation.
- Faulty Pipe: Pay attention to your water bill.
- Known Issues: Inspect areas of previous ceiling leaks; these older ceiling repairs can often reoccur if improperly fixed the first time.
- Insurance: Damage to your home caused by a burst pipe and or storm damage can sometimes be expensive – nobody wants to get caught out. Contact your insurance company before your following annual review to ensure you have adequate coverage.
- Structural Damage: Structural damage can occur in a storm or even over time. So, get this inspected periodically by a professional to prevent failure when you least expect it.
- Drywall Panels: If you suspect a leak behind drywall panels, then inspect them for discolouration, mould, or water lines that cannot be explained. It’s often impossible to be sure, so consider hiring PGWA to inspect with our non-invasive acoustic and thermal leak detection tools.
- General Inspection: Do a general inspection, looking for signs of unexplained moisture, water lines, and discolouration or dark spots on your ceiling. Don’t assume it’s an old leak, and ignore it. If you see any signs of a leak, get it inspected and repaired to avoid mould and further damage.
Conclusion
In conclusion, dealing with ceiling leaks requires a proactive approach. Whether it’s a minor drip or a major burst, understanding the causes and knowing how to inspect for leaks can save you time, money, and prevent further damage to your home. Regular inspections and maintenance, especially during the rainy season in Perth, are key to preventing leaks. While DIY methods can be effective for simple issues, it’s crucial to know when to call in professionals like PGWA for more complex problems. Remember, addressing leaks promptly protects your home and ensures peace of mind. Stay vigilant, and don’t let those leaks dampen your spirits or your home!