Every homeowner has experienced water torture at home at some point in their life. It’s the game the whole family gets to play—at 3 a.m., as you lie there listening to your tap spells out “P-G-W-A” in aquatic Morse code.
Let’s be honest; a dripping tap is frustrating, but it doesn’t signal an EMERGENCY, right?
There is no emergency, but a dripping tap increases your water bill if it’s only cold water. What you may not have considered is that a hot water tap also increases your gas and electric bill, so let’s get it fixed.
If you are reading this, you are likely on the fence because:
I reckon I can fix it myself.
I have most of the tools I need.
There can’t be that many steps involved in fixing a leaking tap?
Besides, what is a plumber going to charge to fix it?
In reality, repairing a leaking tap is often within most people’s ability, and we will explain exactly how to do it in this guide. However, can we make a deal to call a professional before you need one?
A leaking tap can be a simple fix, but making a mistake can be costly and cause significant damage and expense. So, here is our number: 0439 570 736.
Before you go any further, turn off the water supply/isolation valve. Before!
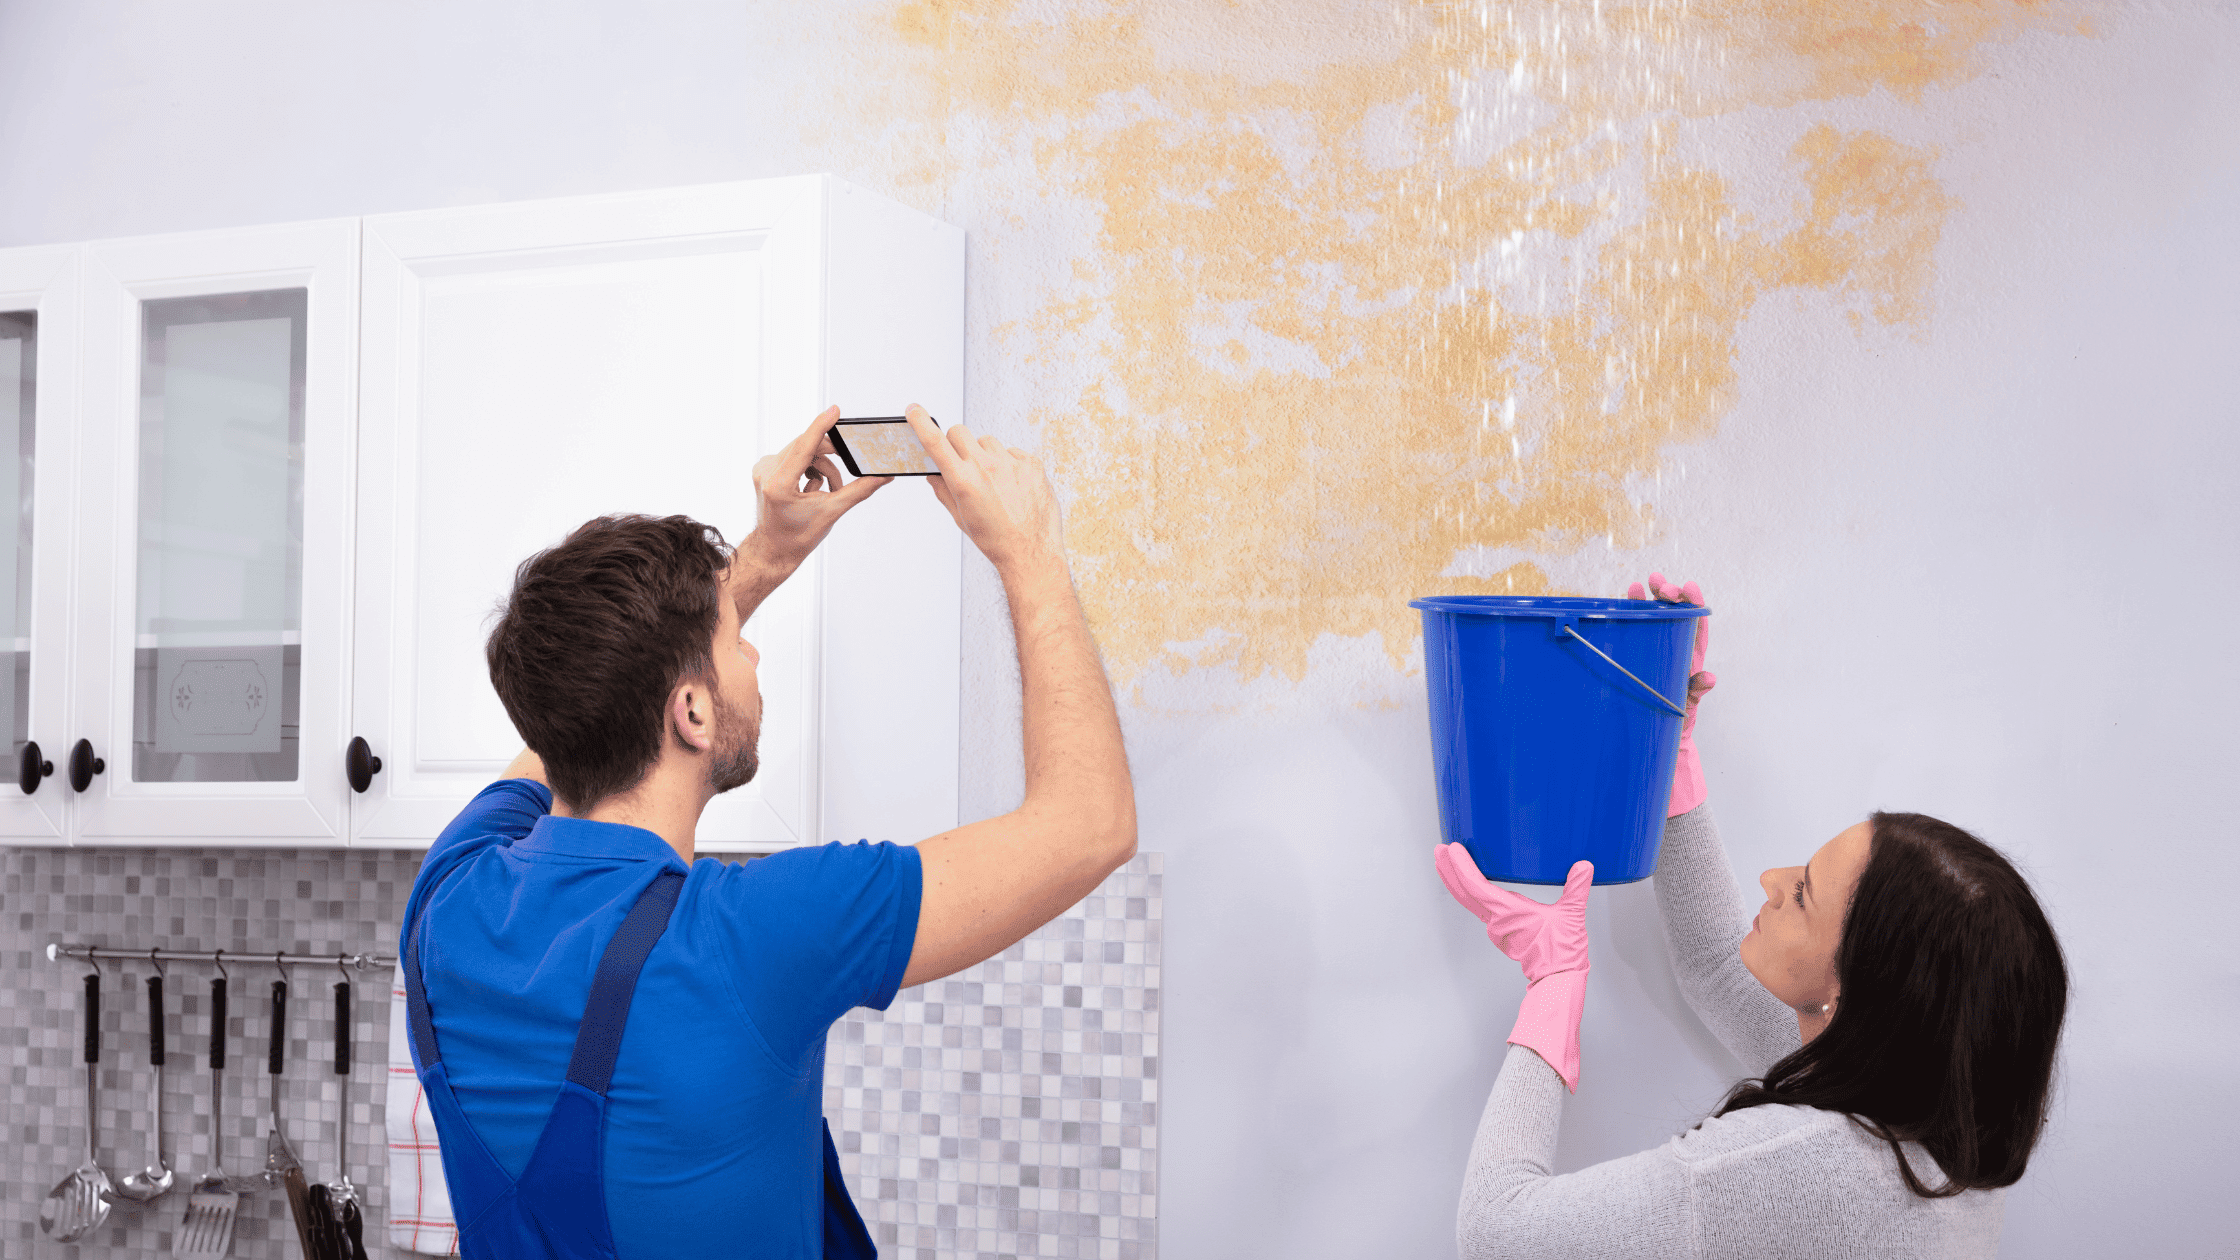
Pro tip: take a picture: Before you wield your adjustable spanner, grab your phone and take pictures as you disassemble the tap.
Tools and Materials Needed:
To avoid the real inconvenience of being caught out, get all your supplies and avoid a trip to the plumbing shop midway through the fix.
- Adjustable wrench
- Screwdriver
- Tap reseating tool
- Plumber’s grease
- Cleaning cloth
- WD40 (optional for cleaning)
- Adjustable spanner or wrench
- Screwdriver (flathead or Phillips, depending on the type of screws)
- Replacement washers
- Replacement O-rings
- Replacement cartridge,
- Teflon tape (for resealing)
- Cloth or towel for drying
- Tap seating washer (if needed)
How to fix a leaking tap
Step-by-Step Guide to repair a leaking tap yourself:
This process may vary depending on the type of tap, but the fundamental elements are the same.
Key tip: Isolate water and remove pressure from the tap (open the tap handle), especially on an older tap.
- Turn Off the Water Supply:
- Locate and turn off the water supply to the tap you are working on. This is usually found under the sink or in the main water supply line.
- Open Tap:
- Open the tap to release any remaining water and to ensure the water is fully off.
- Remove Tap Handle:
- Use a screwdriver to remove the handle screw. If there is a decorative cap, remove it first to access the grub screw or tap bolt.
- Pull off the tap handle to expose the valve.
- Remove Valve:
- Use an adjustable wrench to loosen and remove the valve. Turn it counterclockwise until it comes free.
- Inspect the Tap Seat:
- Look inside the tap body where the valve was removed to inspect the tap seat. It needs to be repaired if it appears rough, pitted, or damaged.
- Use the Tap Reseating Tool (Professional plumber recommended)
- Attach the tap reseating tool to the tap body. The tool typically has a cutter that you turn to grind down the tap seat to a smooth surface.
- Follow the tool’s instructions to grind the seat. Apply light pressure and rotate the tool until the seat is smooth.
- Clean the Tap Seat:
- Use a damp cloth to remove debris or metal shavings from the reseating process.
- Replace O-Ring:
- Locate the O-ring on the valve stem. It is usually a small rubber ring that helps seal the valve.
- Use a small flathead screwdriver or a similar tool to remove the old O-ring carefully.
- Apply a small amount of plumber’s grease to the new O-ring to ensure a good seal and ease of installation.
- Replace Washer:
- Replace the old body washer on the valve with a new rubber washer. Ensure it is the correct size and type for your tap.
- Reassemble the Tap:
- Reinsert the valve into the tap body and tighten it with the adjustable wrench.
- Replace the tap handle and secure it with the screw.
- If there was a decorative cap, snap it back into place.
- Turn On the Water Supply:
Test the tap to ensure it operates smoothly, and the leak is fixed.
Turn the water supply back on and check for any leaks.
That’s it!
Pro tip:
Don’t trust that you have a water-tight seal to avoid an annoying plumbing disaster.
It’s impossible to know if you have an effective fix until you turn on the water, so be ready to turn it off again immediately to avoid potential water damage. This may be a two-person job, with one person watching the tap for leaks while the other opens the isolation valve.
Knowing when to call a plumber
While fixing a leaky faucet in the shower or bathroom can often be a straightforward DIY project, there are times when it’s best to call in a professional plumber. If you’ve replaced the tap washer and ensured a watertight seal, but the leak persists, the problem might lie deeper within the valve seat, packing nut or even ceramic discs, which require specialized tools and expertise. Complex fixtures like kitchen mixer taps may involve more intricate repairs beyond basic DIY skills. It’s likely time to call a plumbing company, we recommend using licensed and insured plumber to ensure peace of mind. It’s important to avoid unlicensed plumbing and handymen as they may not adhere to plumbing regulations, potentially leading to subpar repairs and a potential insurance nightmare should anything go wrong.
What is a plumber going to charge to fix it
PGWA is a family-run business, so we understand why you may be concerned about cost.
So, let’s be upfront and transparent so you don’t have any nasty surprises because there are several factors that can impact the cost of repairing or replacing at leaking tap.
- The complexity of the repair, the type of fixtures involved, and regional pricing differences may impact the price. However, on average, you can expect to pay between $75 to $150 for a standard repair, replacing a tap washer and securing a watertight seal.
- However, if the issue involves more intricate components like the valve seat or ceramic discs, or if you have sophisticated fixtures such as mixer taps, the cost could be higher, ranging from $150 to $300.
- It could be higher if the tap set can’t be serviced because it’s been re-seated too many times and brass is worn away, meaning you would have to replace the in-wall tap assembly (e.g., shower / bath set).
The good news is that hiring a qualified plumber means you will only pay for the actual job, not the parts an unskilled handyman damages along the way.
Always ensure you hire a licensed plumber to guarantee the work complies with plumbing regulations and avoid the risks associated with unlicensed plumbing work. The benefits of hiring a professional plumber to fix a leaking tap far outweigh the risks of hiring an unlicensed or uninsured handyman.
Conclusion
In conclusion, tackling annoying plumbing issues like leaky faucets can save money and prevent significant water damage. Regularly maintaining your kitchen sink, replacing worn tap washers, and ensuring a watertight seal can keep your water bills in check and avoid costly repairs. However, knowing when to call a professional plumber is crucial. They can handle complex problems with valve seats, ceramic discs, and mixer taps, ensuring your plumbing is up to standard and compliant with regulations. Proper care and timely professional intervention can keep your home’s plumbing running smoothly and efficiently.